You deserve chicken that never turns dry or stringy. Sous vide chicken breast solves this problem completely. This cooking method guarantees a moist, tender, and evenly cooked result each time you cook. Traditional methods often overcook the outer layers before the center reaches a safe temperature. Sous vide eliminates that risk. You seal the chicken in a bag, immerse it in a precisely controlled water bath, and walk away. No stress. No dry meat. Let me show you exactly how to master this technique.
Why Sous Vide Chicken Breast Outperforms Every Other Method
Most home cooks struggle with chicken breast because the margin for error is tiny. A few extra minutes in a pan or oven turns the meat into cardboard. Sous vide chicken breast changes the game entirely. You set the water bath to your desired final temperature. The chicken never exceeds that temperature. This precision allows you to achieve textures ranging from tender and slightly soft to firm and flaky, all while remaining juicy.
Active voice dominates this process: you control the heat, you set the time, and you choose the final sear. Passive voice appears only occasionally, like when the bag is sealed or the water is heated. But you remain in charge.
The Science of Perfect Texture
Heat denatures protein fibers in the meat. At higher temperatures, those fibers contract aggressively, squeezing out moisture. Sous vide chicken breast uses low, consistent heat to minimize this contraction. The fibers unwind gently, retaining more natural juices. Enzymes also break down connective tissue without turning the meat mushy. This dual action gives you a breast that slices cleanly and bursts with flavor.
Essential Equipment for Sous Vide Chicken Breast
You do not need a professional kitchen to succeed. Here is your shopping list:
-
Immersion circulator – This device clamps onto any pot and maintains exact temperatures. Popular brands include Anova, Joule, and Inkbird.
-
Water container – Use any large pot or a dedicated plastic tub. A 12-quart container works for up to six chicken breasts.
-
Vacuum sealer or zipper bags – Vacuum sealers remove all air, which prevents floating. High-quality freezer bags also work if you use the water displacement method.
-
Cooking vessel lid or ping pong balls – These reduce water evaporation during long cooks.
-
Cast iron skillet or torch – You need a high-heat method for the final sear. A cast iron skillet delivers the best crust.
Active voice tip: You seal the bags, you clip them to the side of the container, and you sear the finished chicken. Every step puts you in control.
Best Temperatures and Times for Sous Vide Chicken Breast
Temperature dictates texture more than time does. Use this chart as your guide:
| Temperature (°F) | Temperature (°C) | Texture Description | Minimum Time | Maximum Time |
|---|---|---|---|---|
| 140°F | 60°C | Very tender, slightly soft, almost velvety | 1.5 hours | 4 hours |
| 145°F | 63°C | Juicy, firm but yielding, traditional “done” feel | 1.5 hours | 4 hours |
| 150°F | 65.5°C | Plump and flaky, very familiar texture | 1 hour | 4 hours |
| 155°F | 68°C | Firm, slightly stringy edges, still moist | 1 hour | 3 hours |
| 160°F+ | 71°C+ | Dry, fibrous, not recommended | N/A | N/A |
Sous vide chicken breast shines best at 145°F (63°C) for 1.5 to 2 hours. This temperature kills bacteria through pasteurization (more on that below) while keeping the breast incredibly juicy. You will never go back to 165°F chicken after trying 145°F.
Pasteurization Safety Table
The USDA recommends cooking chicken to 165°F for instant safety. But pasteurization is a function of both temperature and time. At lower temperatures, you simply hold the chicken longer to achieve the same 7-log reduction in pathogens. Here are the safe holding times for a 1-inch thick chicken breast:
-
140°F (60°C): Hold for 28 minutes after the center reaches temperature
-
145°F (63°C): Hold for 10 minutes after the center reaches temperature
-
150°F (65.5°C): Hold for 3 minutes after the center reaches temperature
Your immersion circulator maintains these exact temperatures. You add extra time to account for the center coming up to temp. For a typical 1.5-hour cook at 145°F, the chicken remains pasteurized for well over an hour. This method is completely safe when you follow these guidelines.
Step-by-Step Preparation for Sous Vide Chicken Breast
Follow these active steps exactly. You will produce restaurant-quality results on your first attempt.
Step 1: Season Generously
Pat each chicken breast dry with paper towels. Moisture on the surface dilutes flavor. You then season both sides with kosher salt and freshly ground black pepper. Add garlic powder, onion powder, paprika, or dried herbs like thyme and rosemary. Avoid raw garlic—it can taste harsh after long sous vide cooking. Use garlic powder instead.
Active voice example: You rub the spices directly onto the meat. You press them in gently.
Step 2: Bag Correctly
Place each seasoned breast into its own bag or arrange them in a single layer inside a larger bag. Do not overlap pieces. Overlapping creates cold spots and uneven cooking. If using a vacuum sealer, you seal the bag according to the manufacturer’s instructions. If using zipper bags, you use the water displacement method:
-
You seal the bag almost all the way, leaving one inch open.
-
You slowly lower the bag into a pot of water. Water pressure forces air out through the small opening.
-
You seal the final inch just as the water reaches the top of the bag.
This technique removes 95% of the air without a vacuum sealer. Air pockets cause the bag to float, which leads to uneven cooking. You can add a butter knife or a heavy spoon to the bag to weigh it down.
Step 3: Preheat Your Water Bath
You fill your container with warm tap water. clip the immersion circulator to the side. set the temperature to your chosen target (we recommend 145°F/63°C). The circulator heats the water and circulates it constantly. Wait for the water to reach the set temperature before adding the chicken. Preheating typically takes 10–15 minutes.
Step 4: Cook with Confidence
You submerge the sealed bags completely. Clip the top of each bag to the side of the container to keep them submerged. Cover the container with a lid or ping pong balls to prevent evaporation. Set a timer for 1.5 hours. You can leave the chicken in the water bath for up to 4 hours without quality loss. Longer than 4 hours at 145°F can turn the texture slightly mushy, but the chicken remains safe.
During this time, you prepare your searing station. You also cook side dishes or set the table. Passive voice appears here: The chicken is cooked without further attention from you. But active voice returns when you sear.
Step 5: Dry and Sear
Remove the bags from the water bath. Take the chicken out of the bags and discard the accumulated juices (or save them for sauce). Pat each breast extremely dry with fresh paper towels. Moisture is the enemy of a good sear. You then heat a cast iron skillet over high heat for 2 minutes. Add a high-smoke-point oil like avocado or grapeseed oil. You lay the chicken breast in the hot skillet. Sear for 45–60 seconds per side until golden brown and crisp. You also sear the edges by holding the breast with tongs.
Active voice: You control the sear. You flip the chicken exactly once. You do not move it around the pan.
Alternatively, you use a culinary torch for a dry, oil-free sear. This method produces less mess and an even crust. You torch the surface until it browns evenly.
Step 6: Rest and Slice
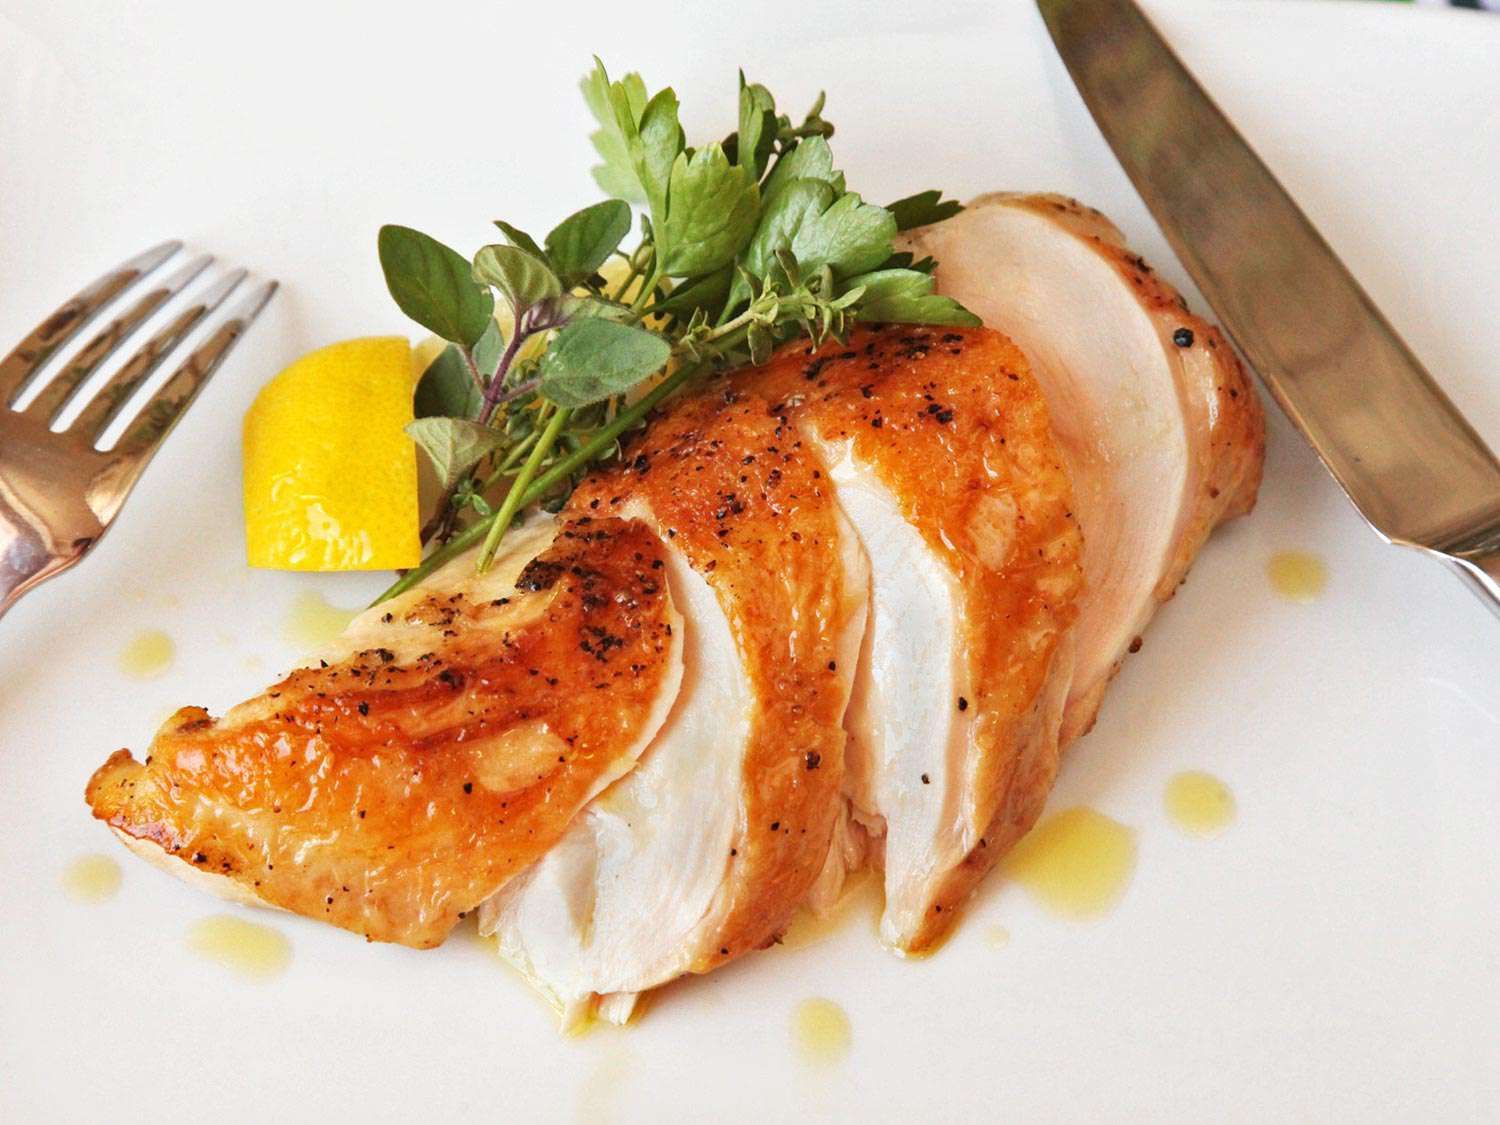
Sous vide chicken requires minimal resting because the internal temperature is already uniform. You rest it for 3–5 minutes just to allow the juices to redistribute after the sear. You slice against the grain at a slight angle. This presentation exposes the perfect ring of white meat with no gray band. Serve immediately.
Flavor Variations for Sous Vide Chicken Breast
You can infuse deep flavors during the sous vide cook. The sealed bag acts like a miniature marinade chamber. Try these combinations:
Lemon Herb: Add two lemon slices, fresh thyme sprigs, and a crushed garlic clove to each bag before sealing.
Mexican Spice: Rub the chicken with chili powder, cumin, smoked paprika, and lime zest. Add a strip of orange peel to the bag.
Asian Ginger: Combine soy sauce, minced ginger, sesame oil, and a teaspoon of honey. Seal the chicken with this mixture.
Italian: Use dried oregano, basil, rosemary, and four crushed black peppercorns. Add a tablespoon of olive oil.
Buffalo: After sous vide and searing, toss the sliced chicken in Frank’s RedHot sauce mixed with melted butter. Serve with blue cheese dressing.
These variations work because the sous vide environment extracts and concentrates flavors without evaporating volatile aromatics. You taste every herb and spice clearly.
Meal Prep and Storage
Sous vide chicken breast is a meal prepper’s dream. You cook a large batch on Sunday, and you eat juicy chicken all week. After cooking and searing, you let the chicken cool completely. You slice it or leave it whole. Store it in an airtight container in the refrigerator for up to 5 days. You eat it cold on salads, reheat it gently in a pan with a splash of broth, or chop it into soups and tacos.
Do not microwave refrigerated sous vide chicken. Microwaves heat unevenly and can toughen the meat. Instead, you reheat it in a 250°F oven for 10 minutes or in a skillet over low heat with a lid. Even better: you reheat it in a second sous vide bath at 130°F for 20 minutes. This brings back the original texture without any drying.
You also freeze cooked sous vide chicken breasts for up to 3 months. Vacuum seal them before freezing to prevent freezer burn. Thaw overnight in the refrigerator before searing or reheating.
Common Mistakes to Avoid
Even experienced cooks make these errors. You will avoid them by reading this section.
Mistake 1: Skipping the dry-brine. Salting immediately before bagging works, but dry-brining for 30 minutes on a wire rack in the refrigerator draws out moisture, then reabsorbs it with the salt. This step seasons the meat all the way through. You pat the chicken dry again before bagging.
Mistake 2: Crowding the water bath. Your circulator needs water to flow freely around every bag. If you pack the container too tightly, cold pockets develop. Leave at least an inch of space between bags and the circulator intake.
Mistake 3: Using fresh garlic or honey. Fresh garlic can develop a bitter, acrid flavor after 2+ hours at sous vide temperatures. Honey can crystallize and create hard spots. Use powdered garlic and skip honey until after cooking.
Mistake 4: Not patting dry before searing. Excess moisture turns your beautiful golden crust into steamed, gray skin. You press paper towels firmly into the chicken until they come away completely dry. Then you sear.
Mistake 5: Over-searing. The goal is color and texture, not reheating the interior. A 45-second sear per side adds minimal heat to the center. A 2-minute sear per side will push the internal temperature past your target and dry out the edges.
Nutritional Benefits of Sous Vide Chicken Breast
Because you use no additional oil in the bag (unless you choose to), sous vide chicken breast retains its lean protein profile. A standard 6-ounce breast cooked via sous vide contains approximately:
-
280 calories
-
53 grams of protein
-
6 grams of fat (mostly from skin if left on)
-
0 carbohydrates
The gentle cooking preserves more B vitamins and selenium compared to boiling or baking. You also avoid the carcinogenic compounds that form during high-heat grilling or charring. The final sear adds minimal risk because it lasts less than two minutes total.
Frequently Asked Questions
Q:1 Can I cook frozen chicken breast sous vide?
Yes, directly from frozen. You add 45 minutes to the cooking time. Seasoning does not penetrate frozen meat well, so you thaw it slightly, season, then reseal, or you season after cooking before searing.
Q:2 Why does my sous vide chicken breast have a weird texture?
You likely cooked it below 140°F or for too short a time. Below 140°F, chicken can feel raw or rubbery. Above 4 hours at 145°F, enzymes break down too much, creating a soft, almost mealy texture. Stick to 1.5–3 hours.
Q:3 Do I need to brine sous vide chicken?
No, but a quick 30-minute dry brine improves juiciness and flavor penetration. You can skip brining entirely and still get excellent results because the sous vide method retains natural moisture.
Q:4 Can I cook bone-in chicken breast sous vide?
Yes, but you increase the time to 2.5–3 hours at 145°F. Bone-in pieces take longer to reach the center temperature. Remove the bone after cooking if you want clean slices.
Final Thoughts
You now possess all the knowledge to cook perfect sous vide chicken breast every single time. This technique transforms a notoriously dry protein into a juicy, versatile staple. You control the temperature, you control the sear, and you control the flavor. No more guessing. No more overcooked dinners. Set up your immersion circulator this week, try 145°F for 1.5 hours, and taste the difference for yourself. Your weeknight chicken will never be the same.
FOR FURTHER INFORMATION,VISIT: THESOLOMAG